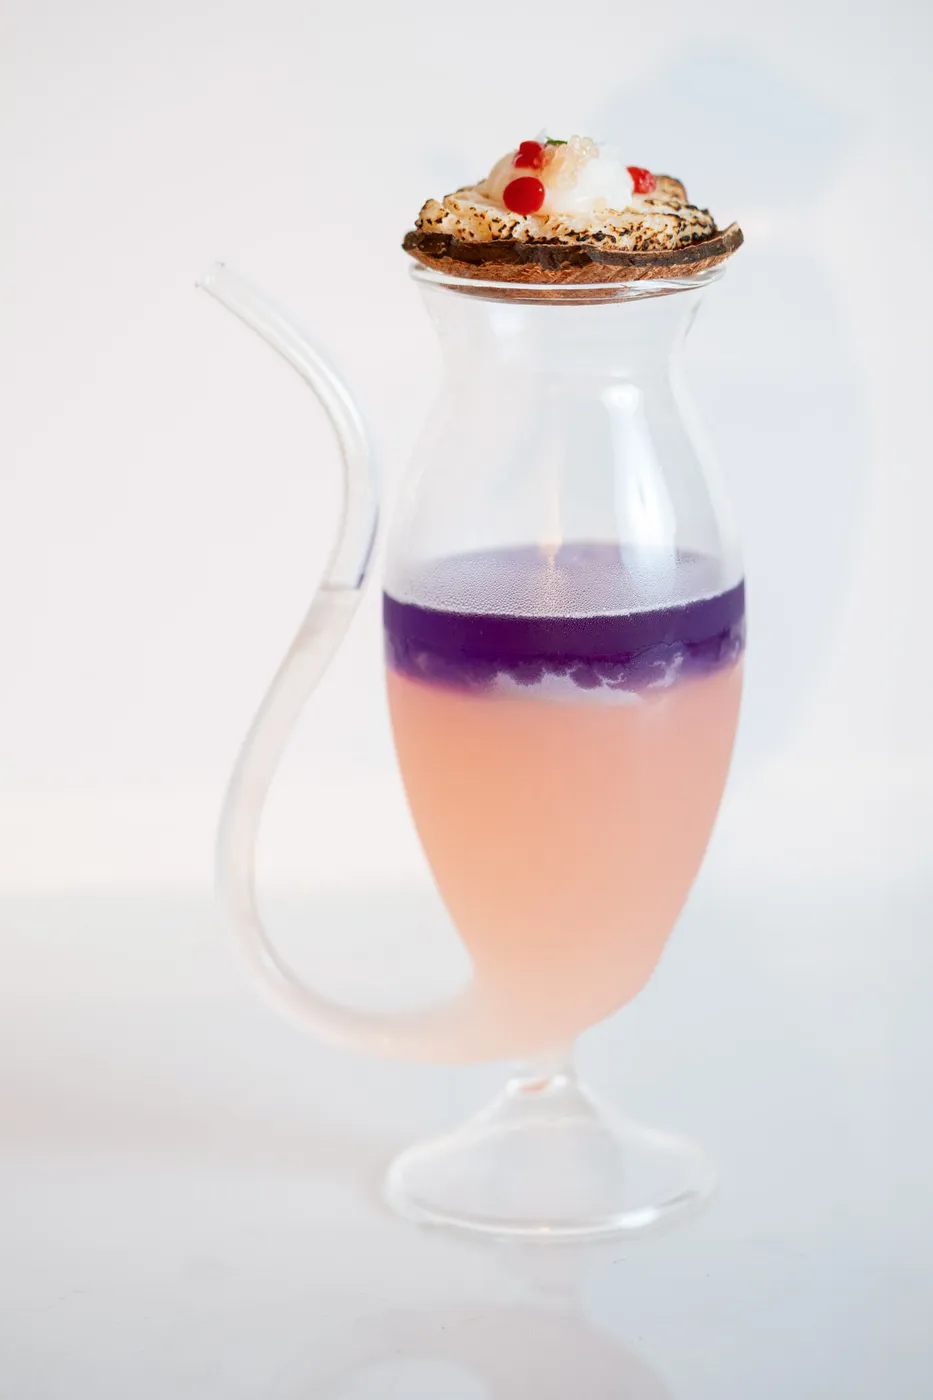
Bring Another Smurf!
Coconut · Finger Lime · Toasted Flavors
My definition of challenging cocktails has evolved over the years.
When I started, I thought making tinctures and specialty ice would be tough. Bring Another Smurf! included a variety of far greater challenges—from using liquid nitrogen to layer the cocktail, to sourcing a rare tequila no longer in production, and finding the exact right port pipe serving glass.
Lucky for me, I’d done a lot of the pre-work a couple summers ago. I originally planned to make Bring Another Smurf! for a party to celebrate finding a bottle of E.J. Burke Jamaica Rum from 1943, used in my first-ever cocktail from the Dusty Bottle series: the daiquiri. I ultimately decided to make three other cocktails instead that used “easier” elements like dry ice and a custom poker chip ice mold made from a 3D-printed model. But I did manage to purchase a set of the port pipe glasses required for Smurf!, along with a bag of dried butterfly pea flowers and Ultra-Tex 3—a powder used to thicken and stabilize the fresno chili pudding in the accompanying small bite of food.
As of December 2025, the only ingredient I hadn’t yet sourced was a bottle of Tequila Cabeza. Could I have made a substitution? Perhaps. But at this point, the hunt for rare and discontinued bottles of liquor has become one of my favorite things. I’d seen bottles come up in Google searches over the years, but each time, the bottle ended up being an inventory error and the store no longer carried it. However, the stars seemed to align: I found a bottle at Beverage Centre in Delavan, WI—a town of 8,500 situated about 70 miles northwest of Chicago. I had plans to be in Chicago in early December and built the pickup into a liquor run that included five stores between Milwaukee and Chicago.
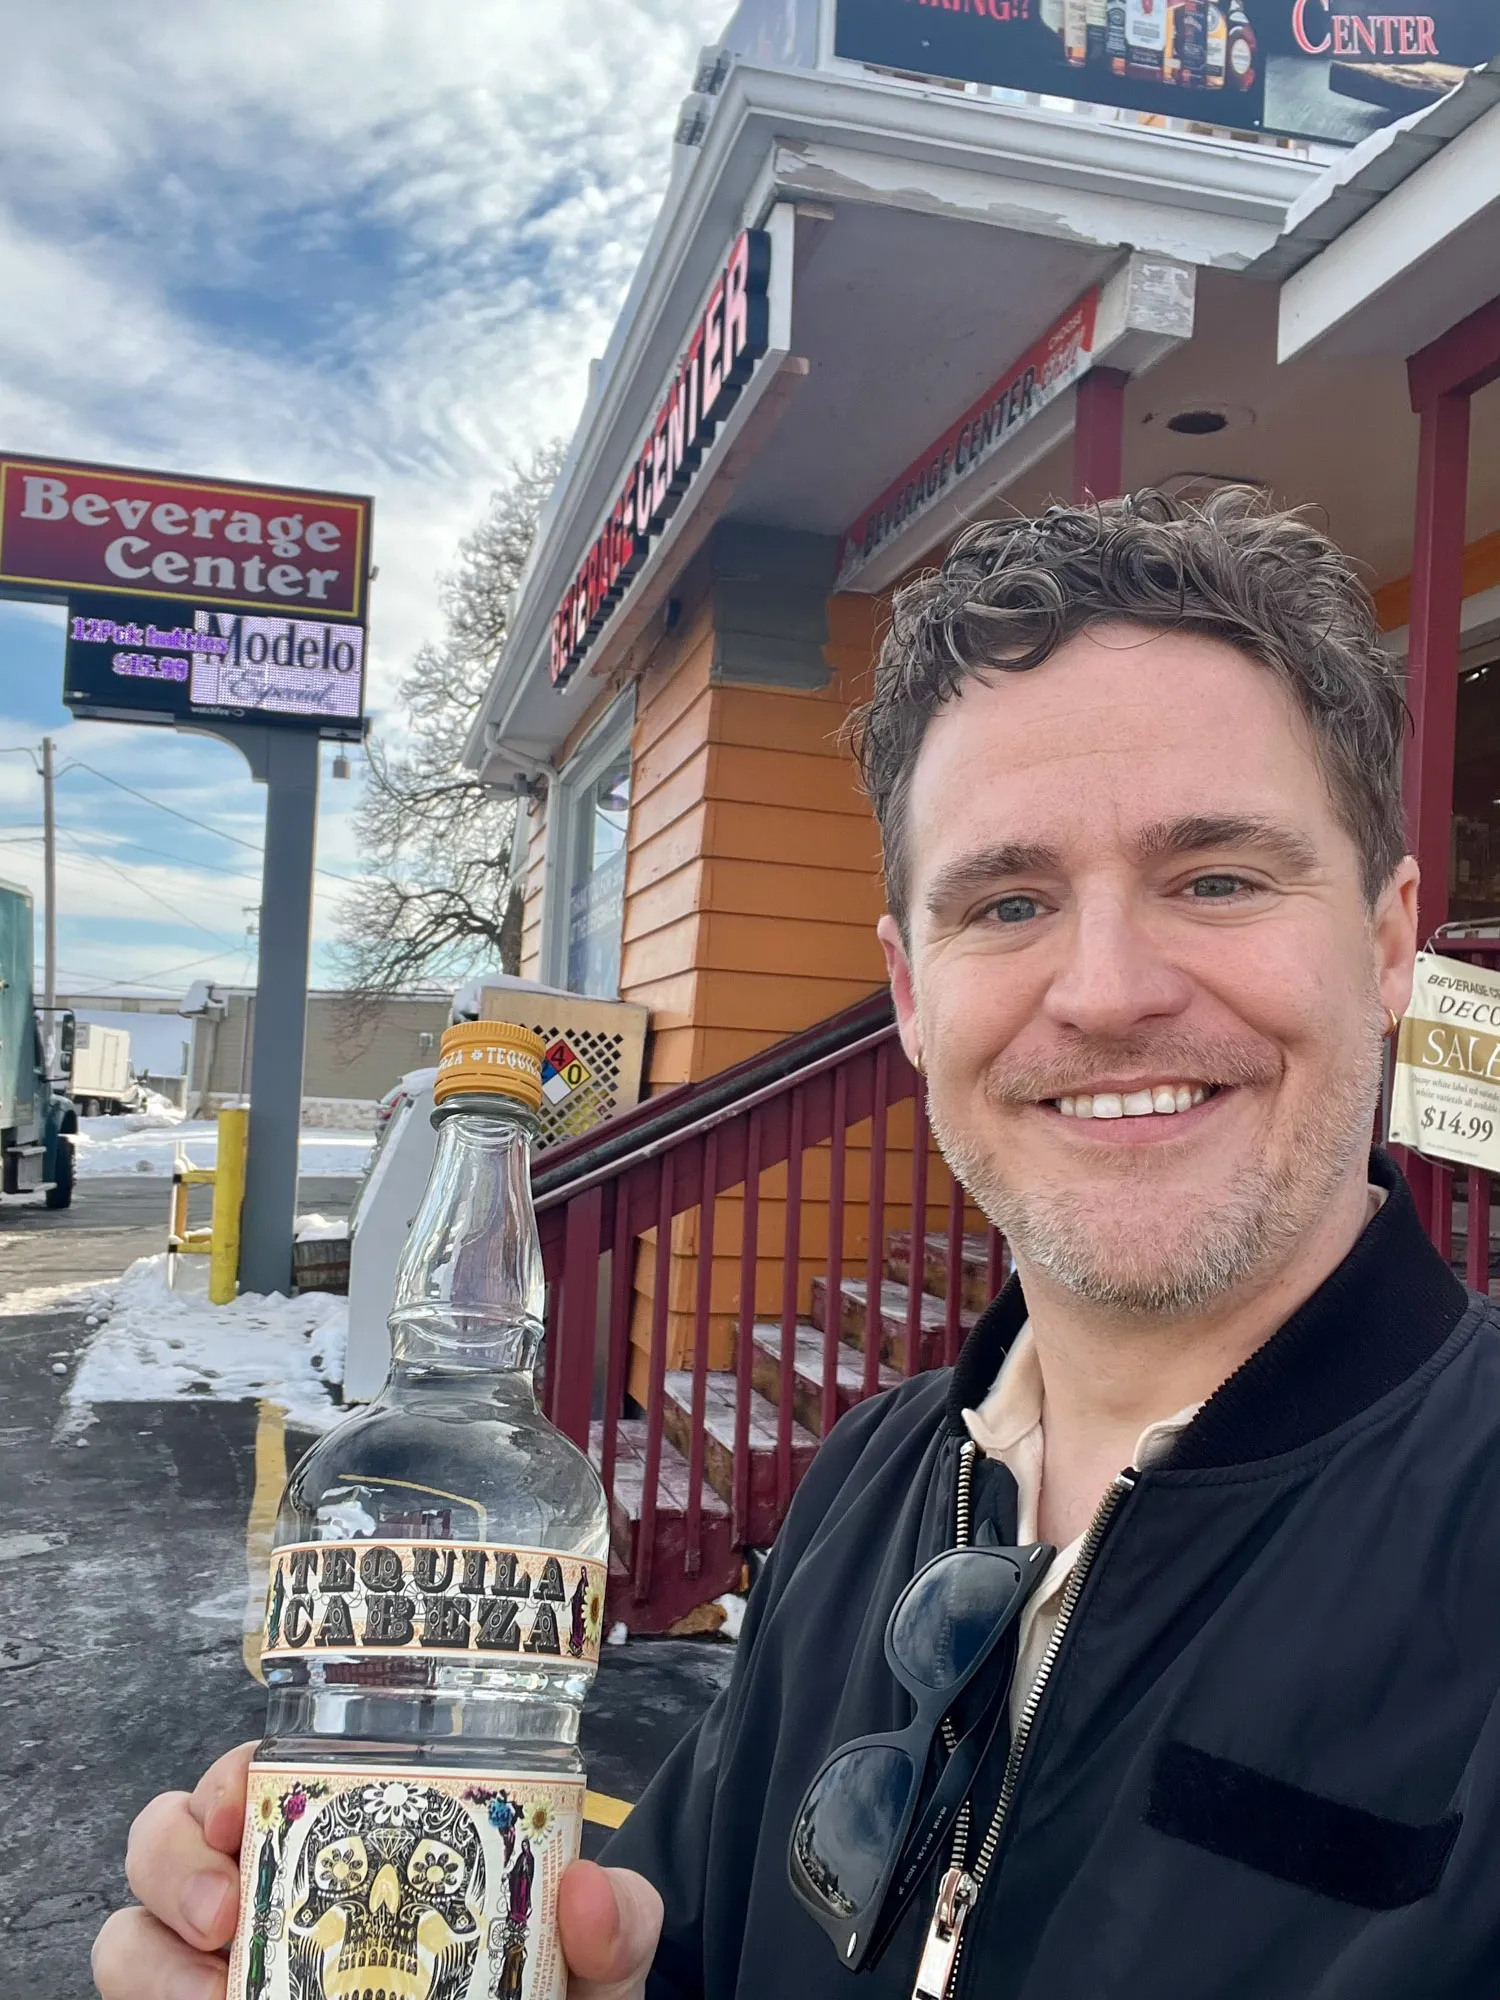 The elusive Tequila Cabeza, finally tracked down in Delavan, WI.
One week later, I found myself in Des Moines, IA, after spending time with my family for an early Christmas celebration. I’ve developed a nice little ritual of ending my family visits with a night at a hotel in Des Moines so I can have a bit of introvert time before my early morning flight to Denver the next day. While in Des Moines, I had the good fortune of dining with Brad and Angie of The Aviary Cocktail Project. We connected back in 2019 when we were new to our respective projects and have stayed in touch. Abe and I had a blast making Two Turtle Doves with them that winter and I’ve always wanted to make another cocktail with them.
As luck would have it, they were considering a road trip to Colorado this summer and were just as excited to make another collab cocktail as I was. A couple weeks before their arrival, we had a group call and discussed what we might make together. Honestly, anything would be fun with Brad and Angie! But now that all the ingredients were in place, Bring Another Smurf! sounded like the right amount of challenge for the three of us to tackle.
The book says that Bring Another Smurf! came from the idea of making a blue cocktail using naturally occurring colors. Infusing the cocktail base with butterfly pea flower created a striking deep blue hue. The blue base naturally changes to magenta when combined with an acid à la Empress Gin. In this case, the acid was a coconut finger lime cordial using fresh finger limes from Shanley Farms in California.
Brad and Angie’s arrival perfectly coincided with the start of finger lime season…sort of. Shanley Farms announced that they would begin shipping orders for the season on June 11. Brad and Angie were set to arrive on June 12 and we planned to make the cocktail the next day. Even with express shipping, I wasn’t sure the finger limes would arrive in time—any delays would mean the finger limes would arrive just as Brad and Angie were leaving. I hadn’t considered this, but now I had to solve for it. It turns out, asking politely in an email was all that was required for them to ship me a box earlier in the week so the finger limes would arrive on time.
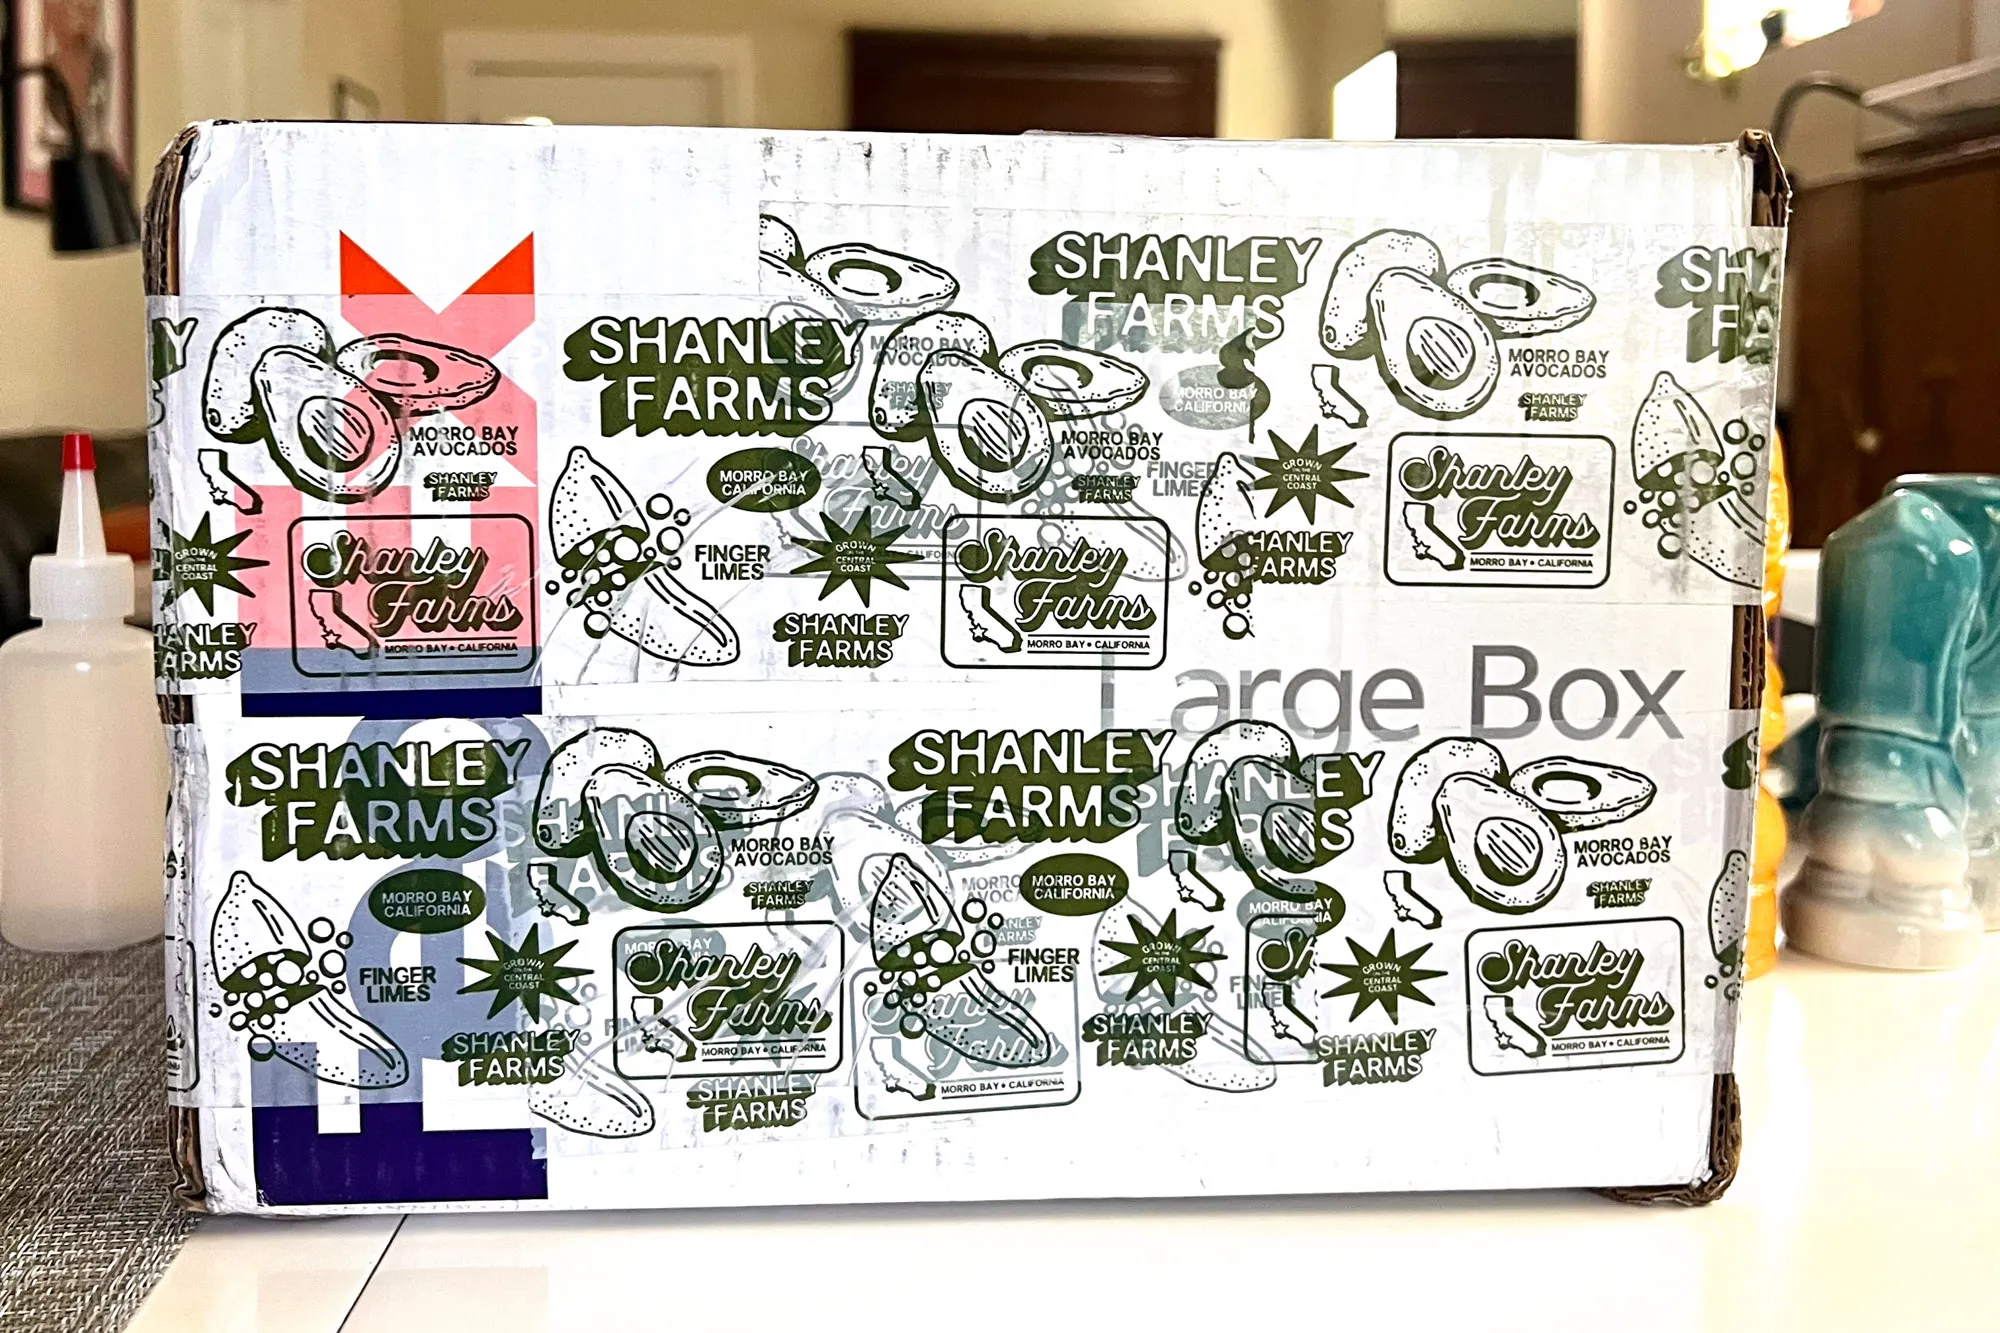 The finger lime shipment, arriving right on time. Have you ever seen cuter packing tape?
The finger limes were chopped and added to a bag of Everclear, sugar, and water that was cooked en sous vide for 20 minutes. Once it cooled, we added Kalani Coconut Rum Liqueur and a homemade toasted coconut tincture (also cooked en sous vide). While the finger limes were anywhere from dark green to black outside and pale green inside, the resulting cordial somehow ended up being pale pink, which was expected.
Once the cordial is poured into the port pipe glass, a small amount of liquid nitrogen is poured overtop to flash-freeze the surface of the cordial while leaving the rest in a liquid state. The blue cocktail base is then poured on top of the cordial, temporarily separated from the acidic component until the guest mixes the two layers by blowing into the port pipe.
Atop all of this rests a small bite of chewy coconut candy nestled in a hunk of toasted coconut shell used as the serving bowl. The shell not only looks beautiful but performs the important function of preventing guests from splashing themselves if they happen to blow a little too excitedly into the port pipe. Meanwhile, the coconut candy bite is covered with small garnishes that marry the flavors of the candy and the freshly mixed cocktail: fresno chili pudding, coconut cream pudding, micro cilantro, finger lime cells, and Maldon sea salt. A single spray of the coconut tincture is added to the glass before it is capped by the coconut bite and presented to the guest.
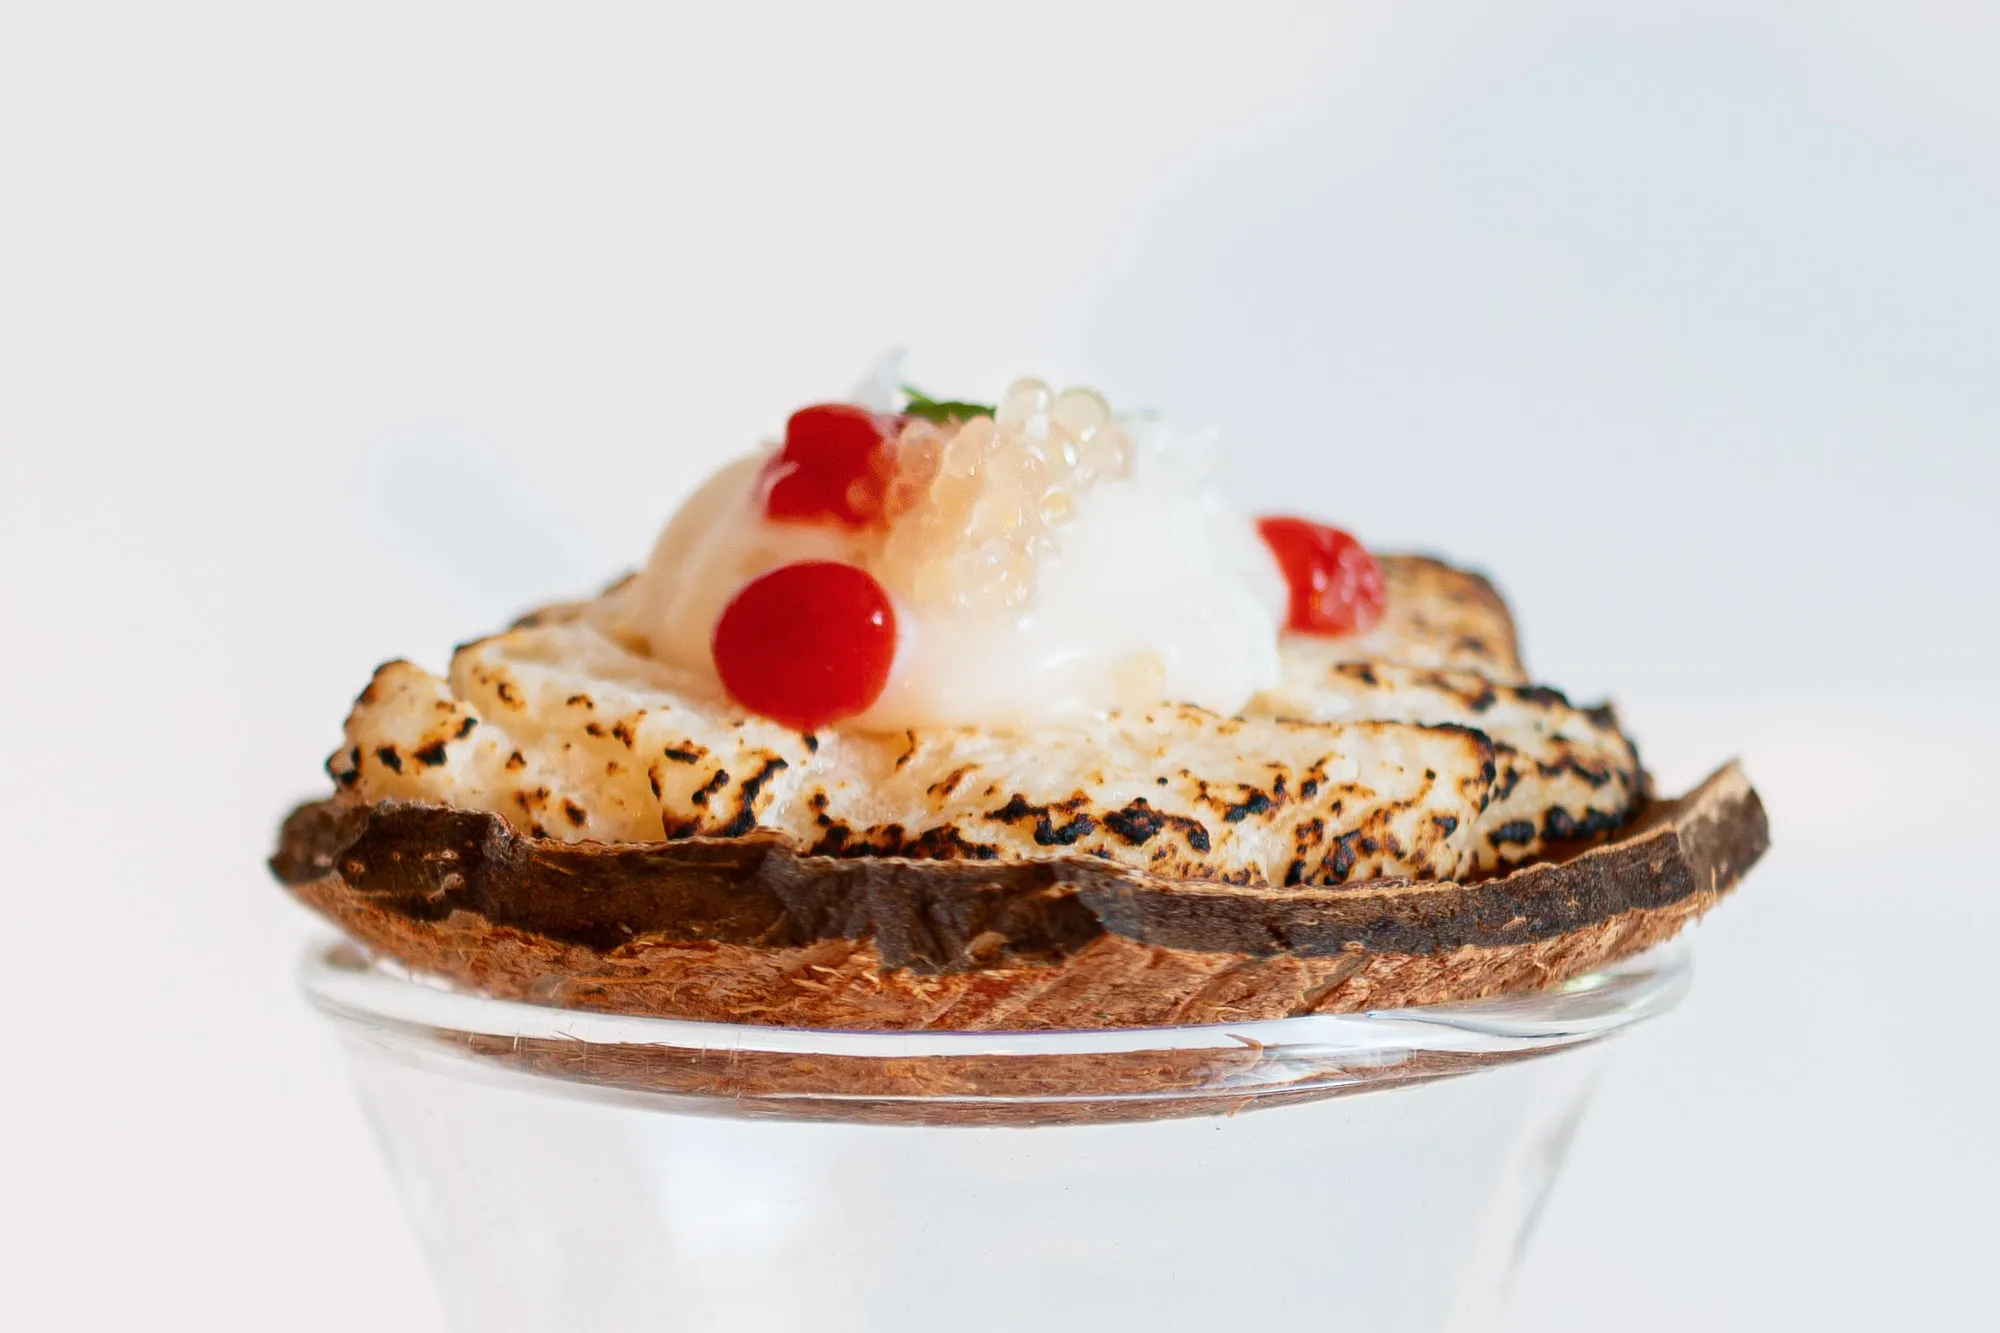 Looks pretty good for something that was blended, dehydrated, ripped into bits, smashed with a hammer, and torched.
I really wish I would have filled both of my canisters with liquid nitrogen. We ended up starting with a little less than half of a thermos-full after eight hours of resting with the ventilation lid on inside my cooler. When I went to fill the first ladle full to pour into the port pipe, I discovered the ladle was a little too wide to fit in the mouth of the thermos, meaning we had to pour the liquid nitrogen into a larger container which we could then use to dip from. I had no interest in pouring liquid nitrogen straight from the thermos into the port pipes—too much risk of dribbling all over. When we poured the liquid nitrogen into our large metal bowl, the sublimation process quickly accelerated.
Once we topped off the first pour of coconut finger lime cordial, the recipe said to dump off the excess liquid nitrogen after 10 seconds before pouring the butterfly pea flower-infused tequila/mezcal mixture. We proceeded with caution and gently swirled the port pipe to see if the ice had created a seal for the cordial so we could dump the remaining liquid nitrogen. It had—or so we thought. I made the decision that since we were running low, I would dump the excess back into the metal bowl containing the rest of the liquid nitrogen so we could consolidate our supply. This ended up being a mistake. The seal we’d established seconds prior didn’t hold when the glass was inverted, and a large portion of the cordial ended up getting dumped into the bowl. Mild panic ensued. We had to fill a new clean port pipe and try again with a compromised mixture. Fortunately, the cordial turned into ice that could be easily scooped out so we could work with a purer batch of liquid nitrogen. Unfortunately, we lost a good amount of the remaining liquid nitrogen due to both the time delay and the energy spent freezing the cordial. There was only a tiny amount left for four cocktails. We had to try again and hope we could make do with what was left with no more mistakes.
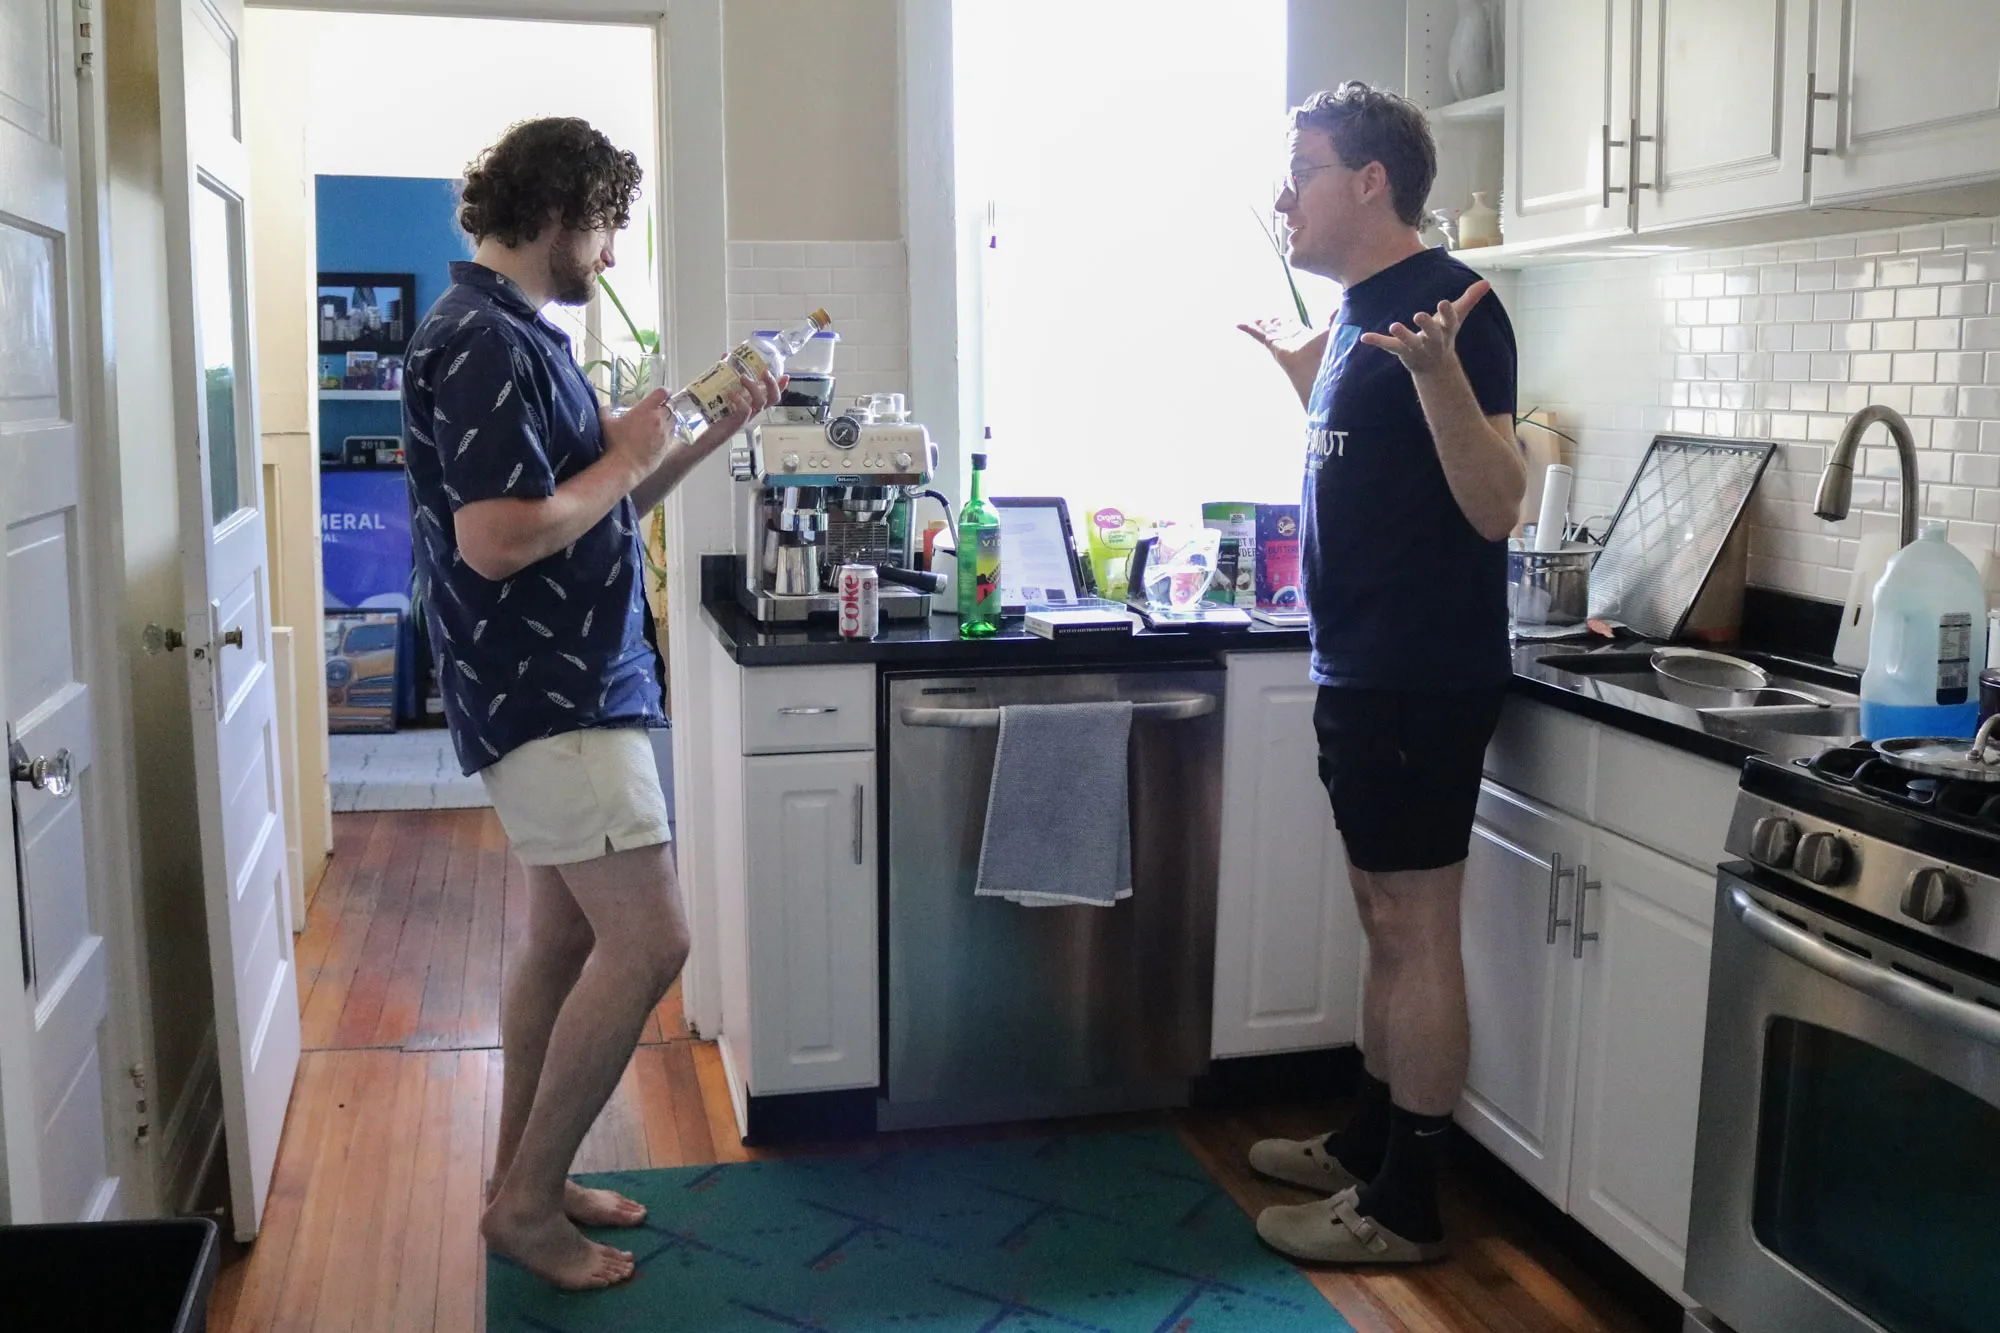 Brad and I taking a break to talk about tequila (excitedly).
Photo: Angie Boyd
Brad and I taking a break to talk about tequila (excitedly).
Photo: Angie Boyd
I made the decision not to dump off the liquid nitrogen after freezing this time. We added a bit more than the time before in increments—when one portion stopped steaming, we added a splash more. Eventually, the seal seemed very solid and we decided to attempt layering the tequila/mezcal mixture. We poured this very slowly and carefully over the ice cap and crossed our fingers. To our great relief, it worked! We had a beautiful blue layer atop the pink cordial base with no leaks. As soon as Brad placed the chewy coconut rock bite on top of the glass, Angie and I pounced on our opportunity to photograph the finished product. It was a stunner.
I’ve found one of the most challenging things about using liquid nitrogen in this project is photographing the finished product. In most cases, the first step is that the whole rest of the cocktail needs to be made in advance so we can quickly place the flash-frozen piece and start snapping. I’ve also found that elements frozen with liquid nitrogen are incredibly fragile and often deteriorate too quickly for me to photograph the finished product at its peak. When making Bloody Mary 2011, almost all of the tomato water noodles shattered into small fragments with the slightest touch, meaning what ended up garnishing the cocktail were shreds of white puff, not unlike fried onions on a casserole. If it doesn’t fall apart, the next ailment to avoid is weeping and melting. This happened with the basil foam in Midnight Mary years ago and also with the tomato water noodles. In an effort to reduce opportunities for these elements to deteriorate, I often save them for last and position the supplies right next to the cocktail staging area so they only travel a few feet before landing in the cocktail.
Unfortunately, due to our rapidly dwindling supply of liquid nitrogen, we were only able to freeze one of the three remaining cocktails well enough to keep the layers separate. We presented this one to Abe who was entertaining Brad and Angie’s son with Legos in the dining room. Turns out, Abe is a bubble-blowing champion and he mixed the layers of his cocktail beautifully while the three of us filmed videos at various angles. The other two cocktails didn’t have a solid seal between the layers, but we enjoyed the final magenta-colored combination nonetheless. It was no small feat to produce this cocktail from start to finish, and our satisfaction came in the form of relief after a full day’s work and delight after seeing two of the four finished cocktails perform their colorful magic trick at the table.
Amid the chaos of photographing on a tight schedule and cleaning up after our failed first attempt at layering the cocktail, the photos I took that night turned out quite poorly for my standards. I skipped assembling my usual lighting setup and that really threw things off. It was also the first time I shot with my camera since it got damaged on vacation in April.
One photo we tried to get was of the moment where the glass was blown into and the colors hadn’t quite mixed fully. It’s one of the more dynamic action shots from all of the different cocktails in the book. It had been a long time since I shot in burst mode on my camera, and I’d forgotten how lousy it is—maybe one photo a second on its highest setting. In the heat of the moment, when it came time to shoot this scene, I made the decision to switch to video mode on my camera instead so that we could capture the color change rather than be at the mercy of the pitiful burst mode situation. While my camera did record a video, I managed to un-focus my lens and record a hazy, low-quality video. It really bummed me out because it wasn’t something we could reshoot that night and I know how excited we all were to capture that moment.
Two days later, Brad and Angie left for the next leg of their road trip and I started to think about staging a reshoot. As I began scanning the refrigerator, I was relieved to see we still had a surplus of nearly every ingredient except coconut cream pudding. After making another batch of pudding and securing more liquid nitrogen, I began to remake the cocktail and take my time with lighting and photography.
These shots were much better than my first attempt. I tried from a few angles but found head-on to be the best. I managed to get a couple close-up garnish shots before the puddings got too warm and started breaking. Then I went for the action shot. I knew I couldn’t rely on burst mode, and as exhaustion set in, I knew I had no interest in restaging this if it didn’t work on the first try. I opted to set the timer to a five-second delay and start blowing into the port pipe a split second before the shot was taken so the layers were swirling but the colors hadn’t fully blended together. I staged a test shot first where I stuck my face in the shot and placed my lips on the glass without blowing. Seeing the test shot proved the assertion Brad made in our first shoot—that of the three of us, Angie had the most photogenic face for this action shot. Alas, my stubbly mug would have to do.
Mug aside, my timing was good enough to capture an action shot! You can see the pink layer bubbling to the top while the blue layer plunges down. Six hours into this shoot and I still had another 45 minutes of cleanup and tear down to go, but I was so happy. Yes, there is still a big glare on the side of the glass from my nearby octobox, but I’ll take it.
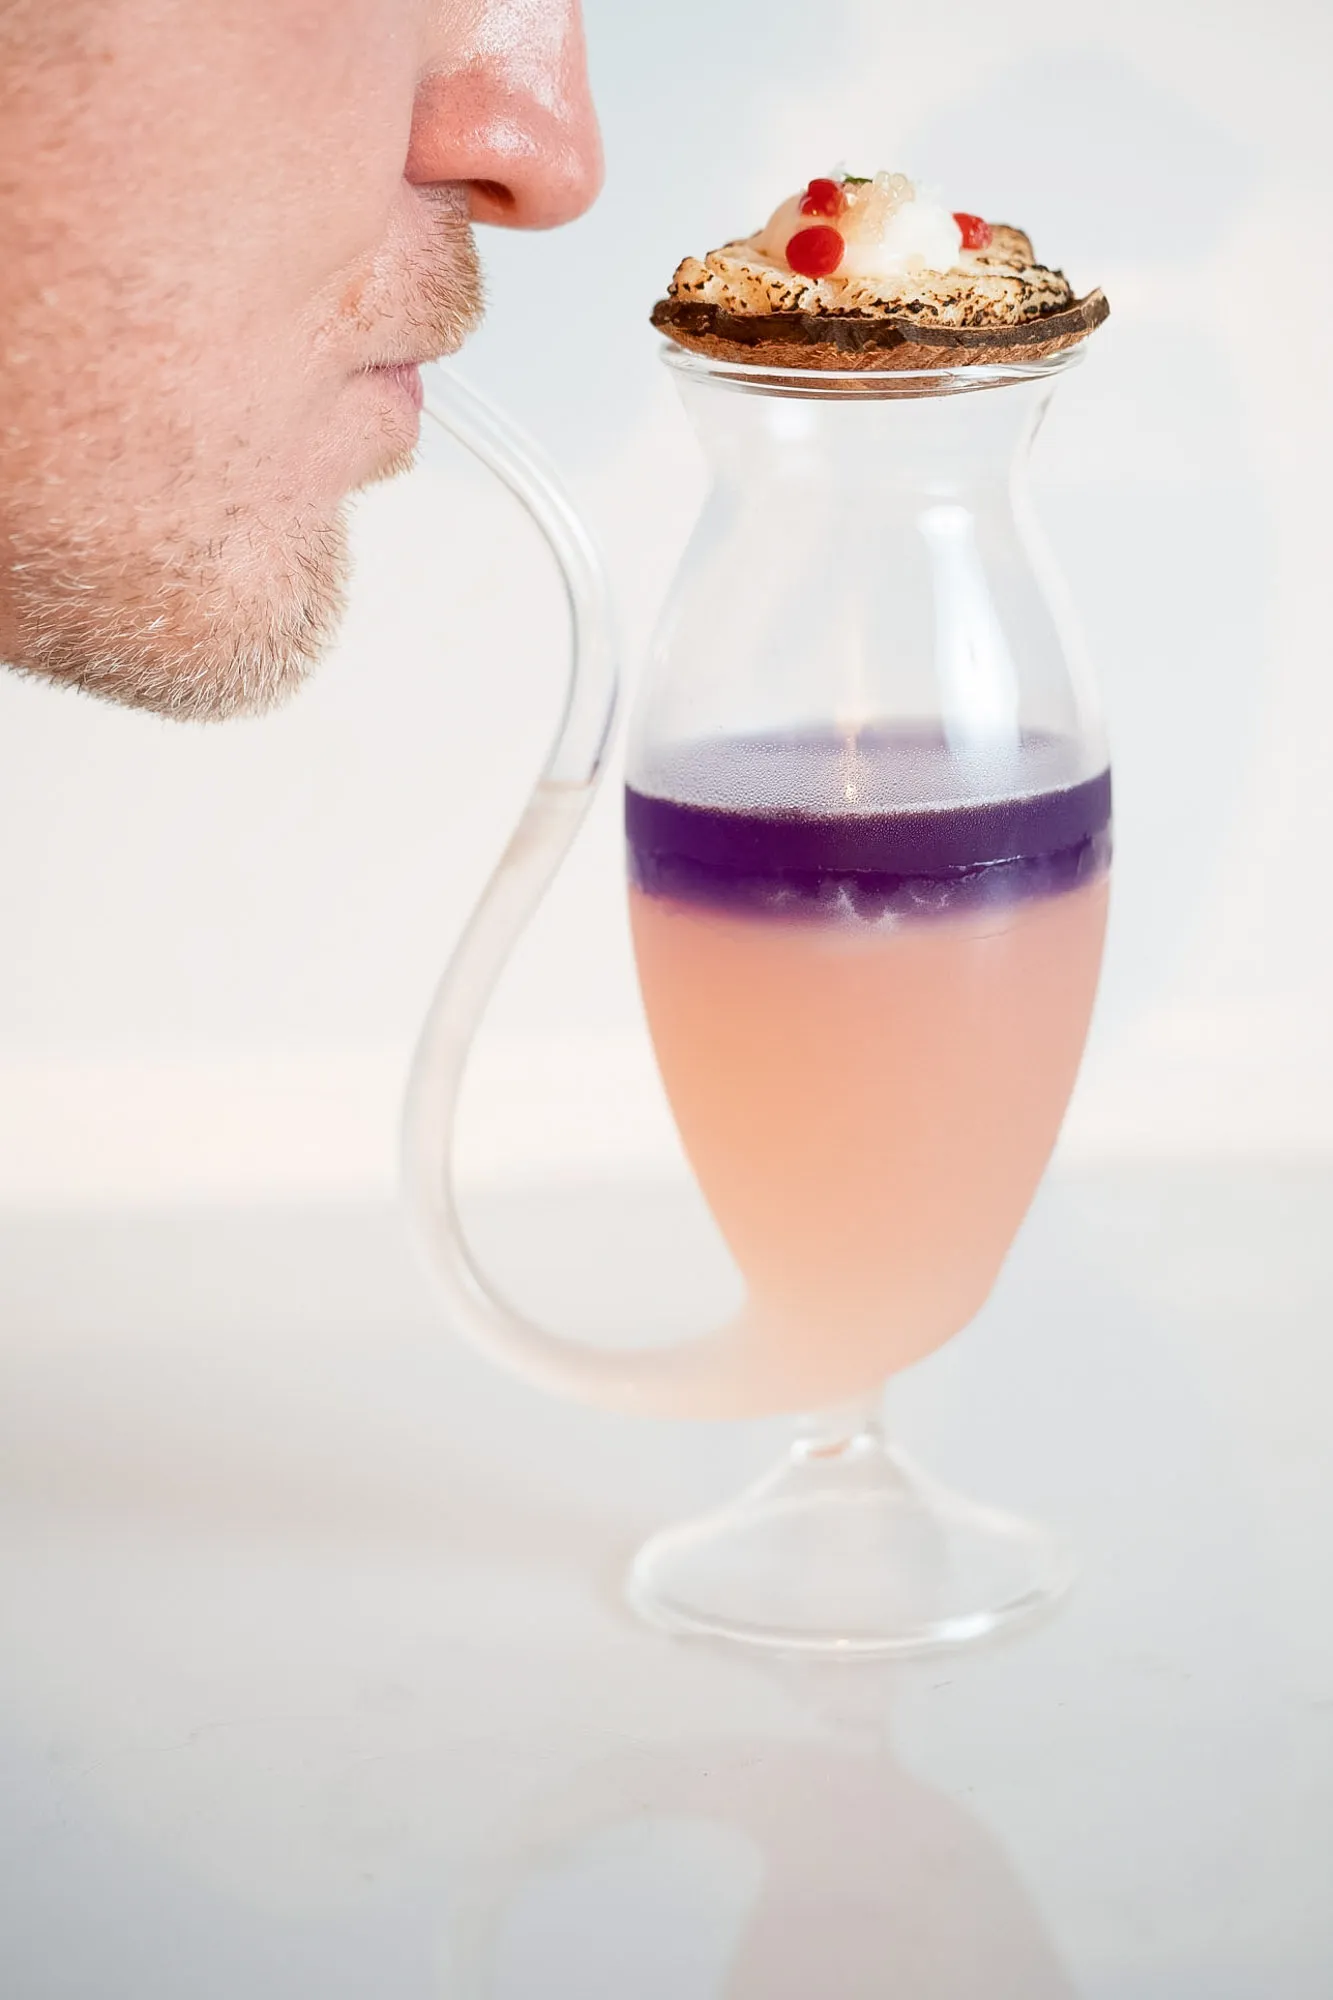
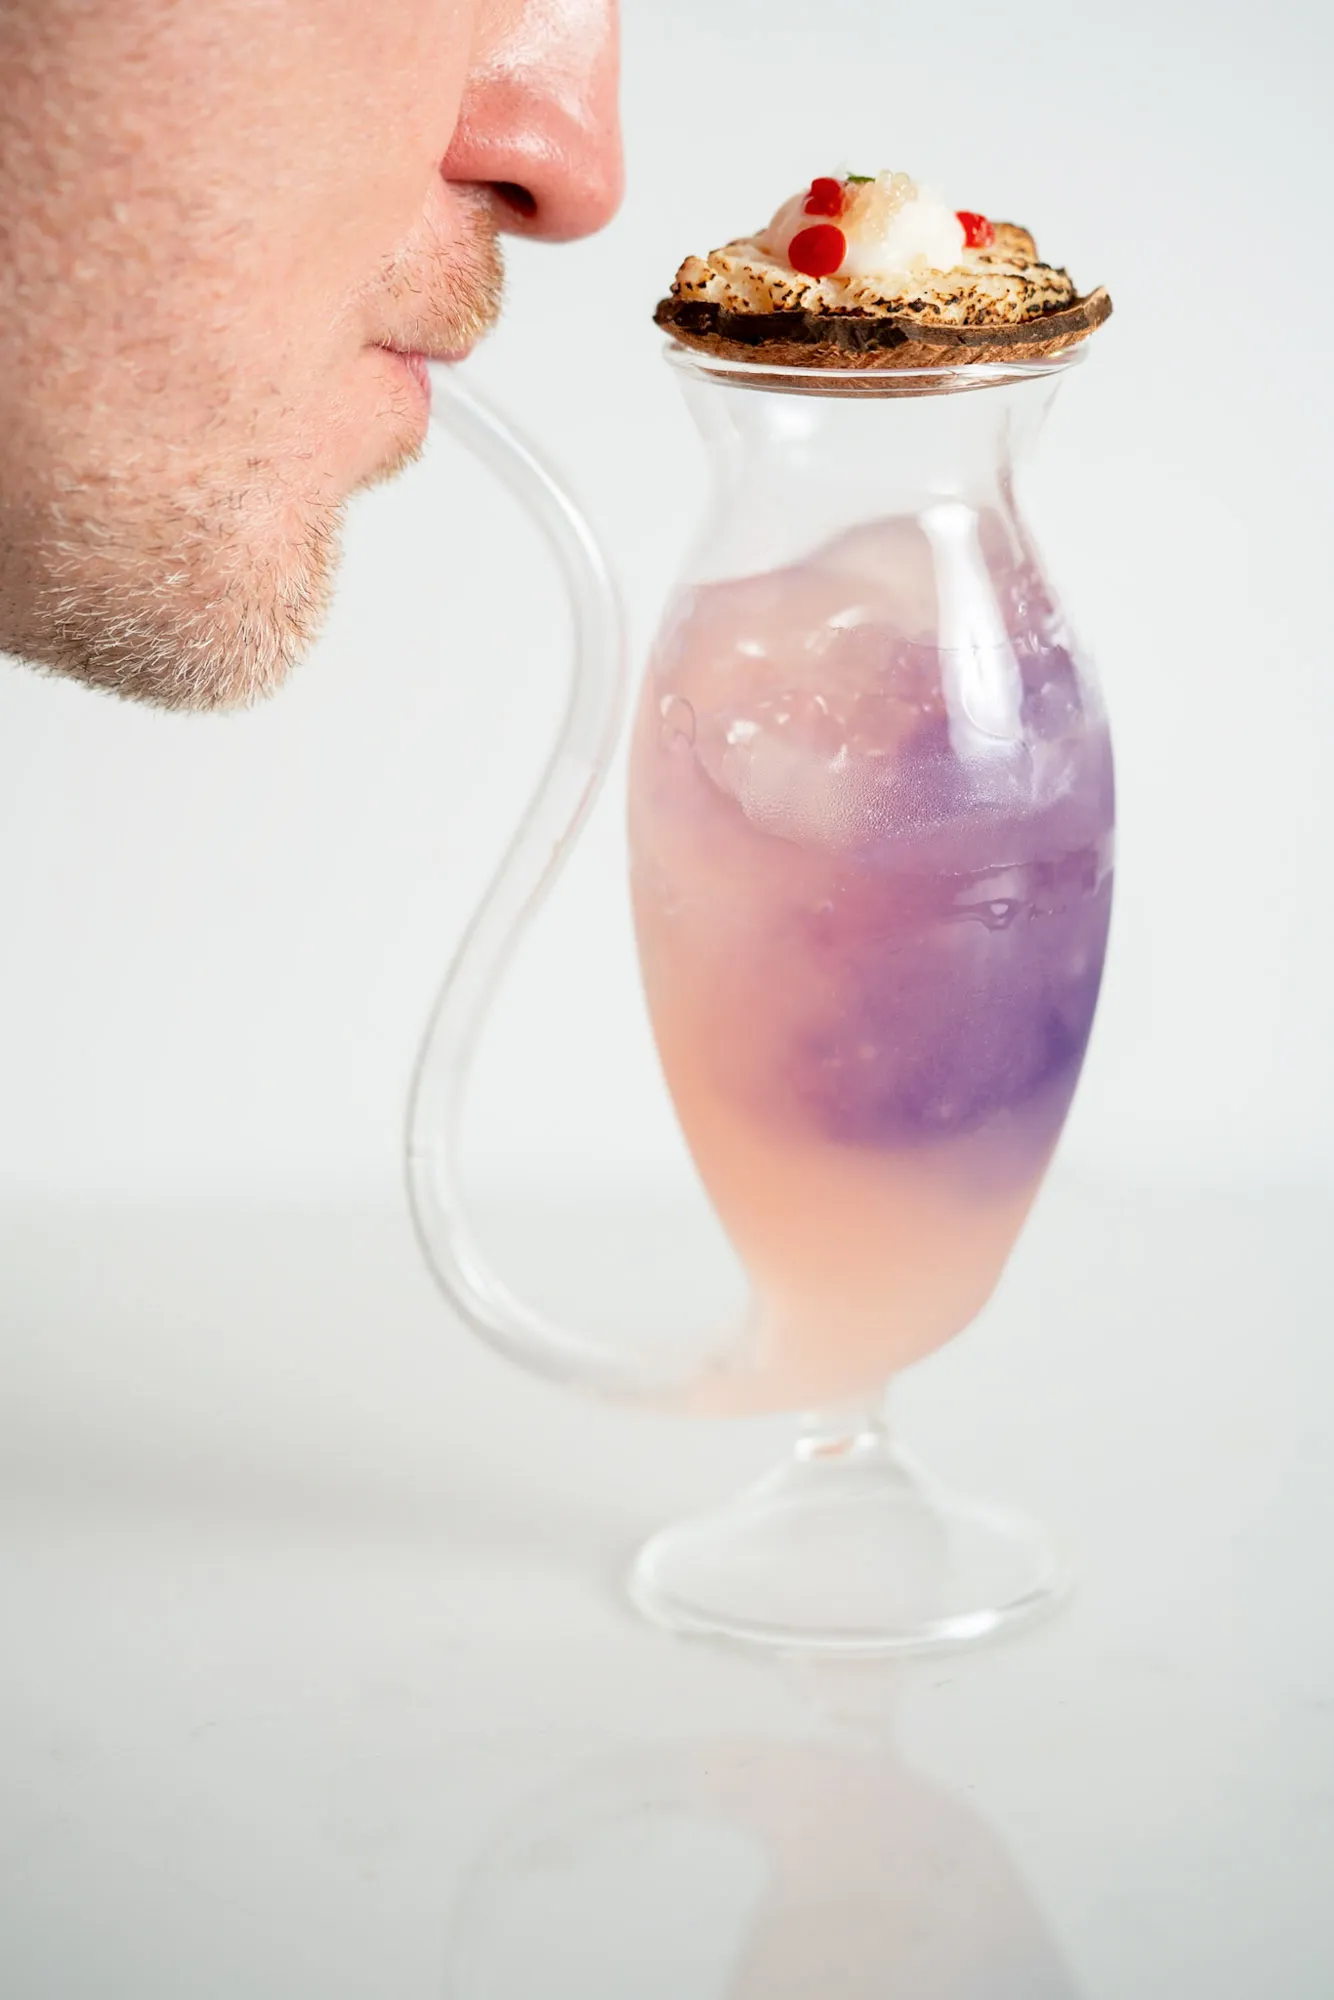 If you’re traveling with small children and forget to pack sippy cup, know that a festooned coconut shell will keep their tequila from splashing all over the place.
It was one of the most rewarding experiences to make another cocktail with Brad and Angie. It’s been almost seven years since we met in person and made the Two Turtle Doves cocktail. We’ve both had stops and starts in our project during that time but have managed to stay in touch. And it’s hard to describe the excitement I feel when sharing this experience with people who are just as passionate about The Aviary as I am.
Moments like this after an incredible collaboration and a solid photo shoot are huge motivators to keep going.
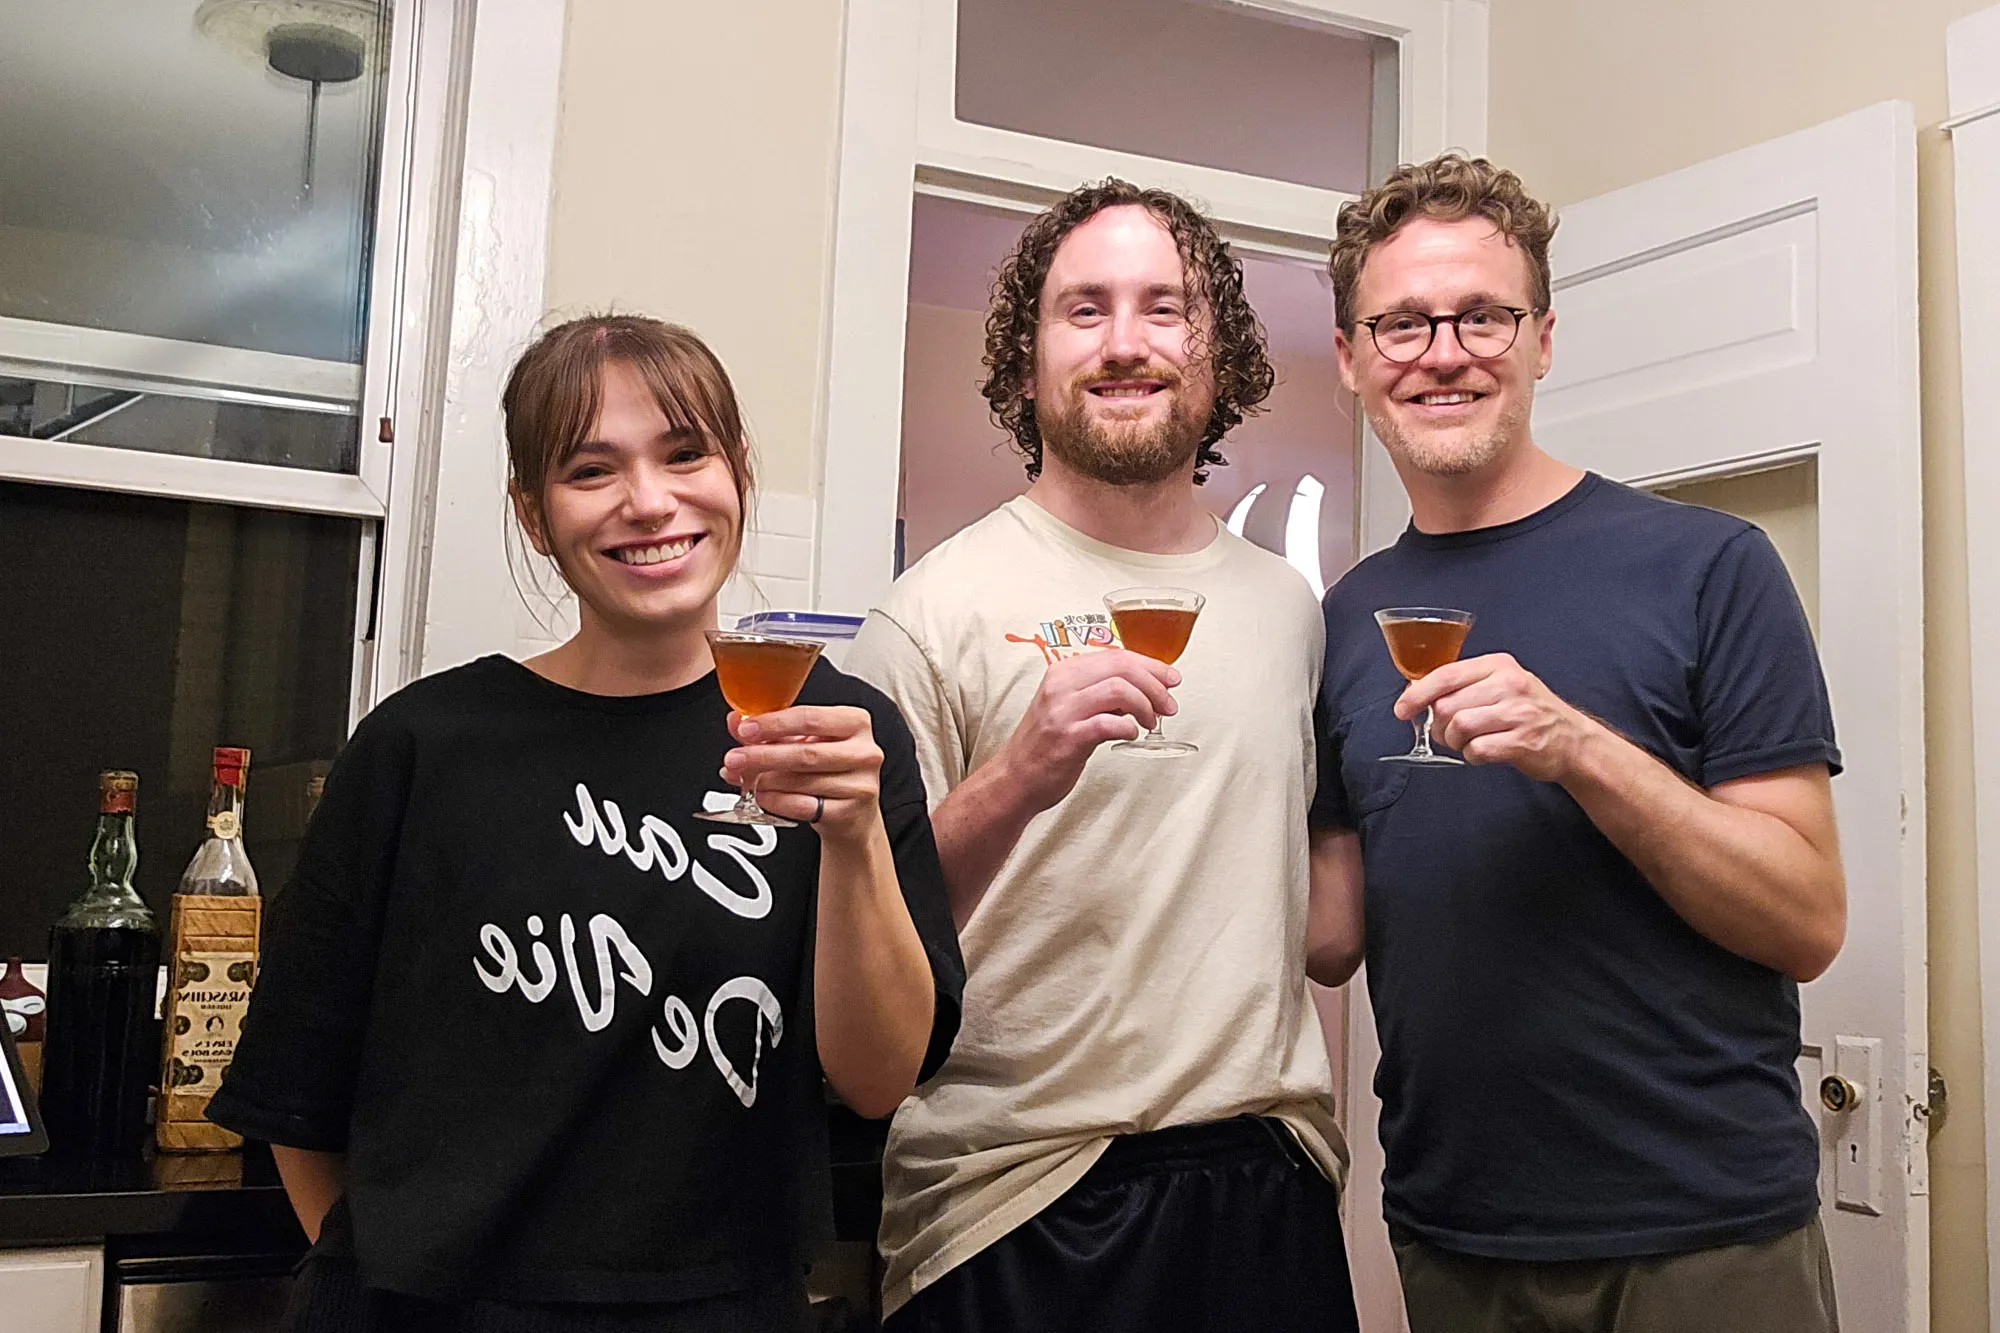 Two cocktails down and already scheming about what we’ll make together next.
Photo: Angie Boyd
Two cocktails down and already scheming about what we’ll make together next.
Photo: Angie Boyd
Thanks for reading.
Whether you're a fellow home bartender, photographer, writer, collector, or simply enjoyed the story, I'd love to hear from you at hello@gayviary.com.